
Github Copilot
Installing Github Copilot in VSCode

Adam Dahan All chapters · 740 words
GitHub Copilot is an AI-powered coding assistant that suggests code completions, entire functions, and helpful comments right inside your editor. In this tutorial, you'll learn how to install and activate GitHub Copilot in Visual Studio Code in just a few minutes — no prior setup required beyond a GitHub account.
Step 1 — Open the Extensions Panel in VSCode
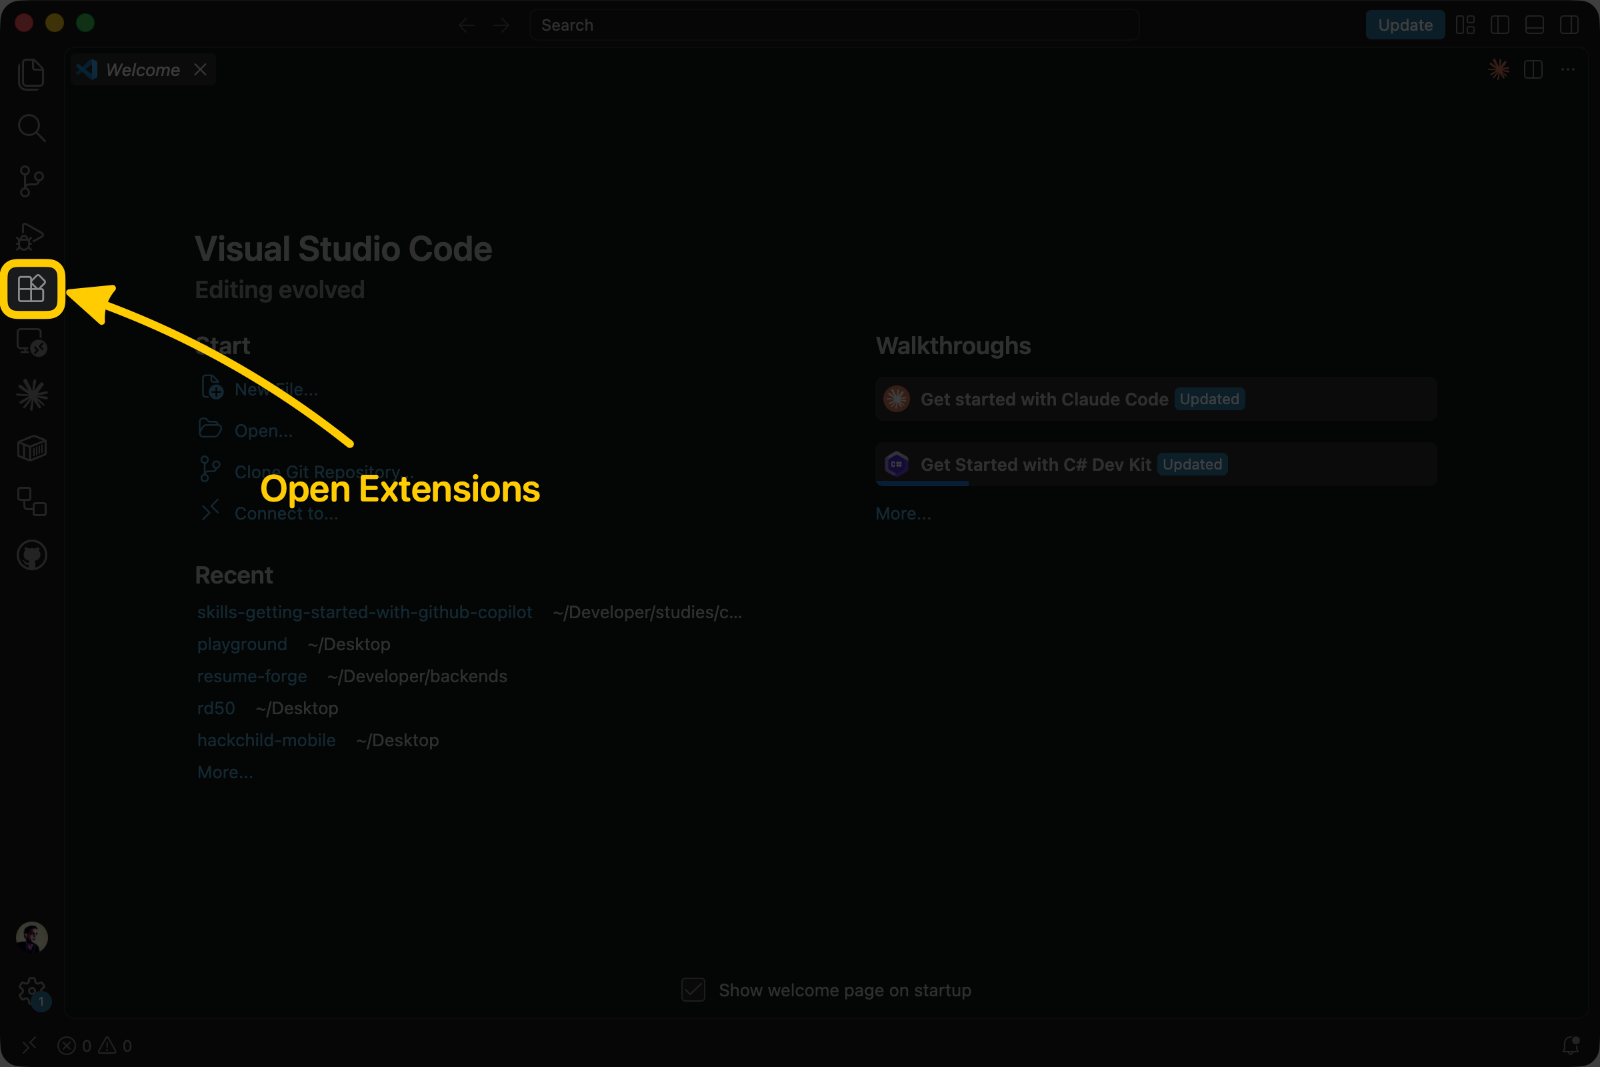
Launch Visual Studio Code. On the left-hand Activity Bar, click the Extensions icon (it looks like four squares, with one slightly detached). Alternatively, use the keyboard shortcut:
- Windows / Linux: Ctrl + Shift + X
- macOS: Cmd + Shift + X
Step 2 — Search for the GitHub Copilot Extension
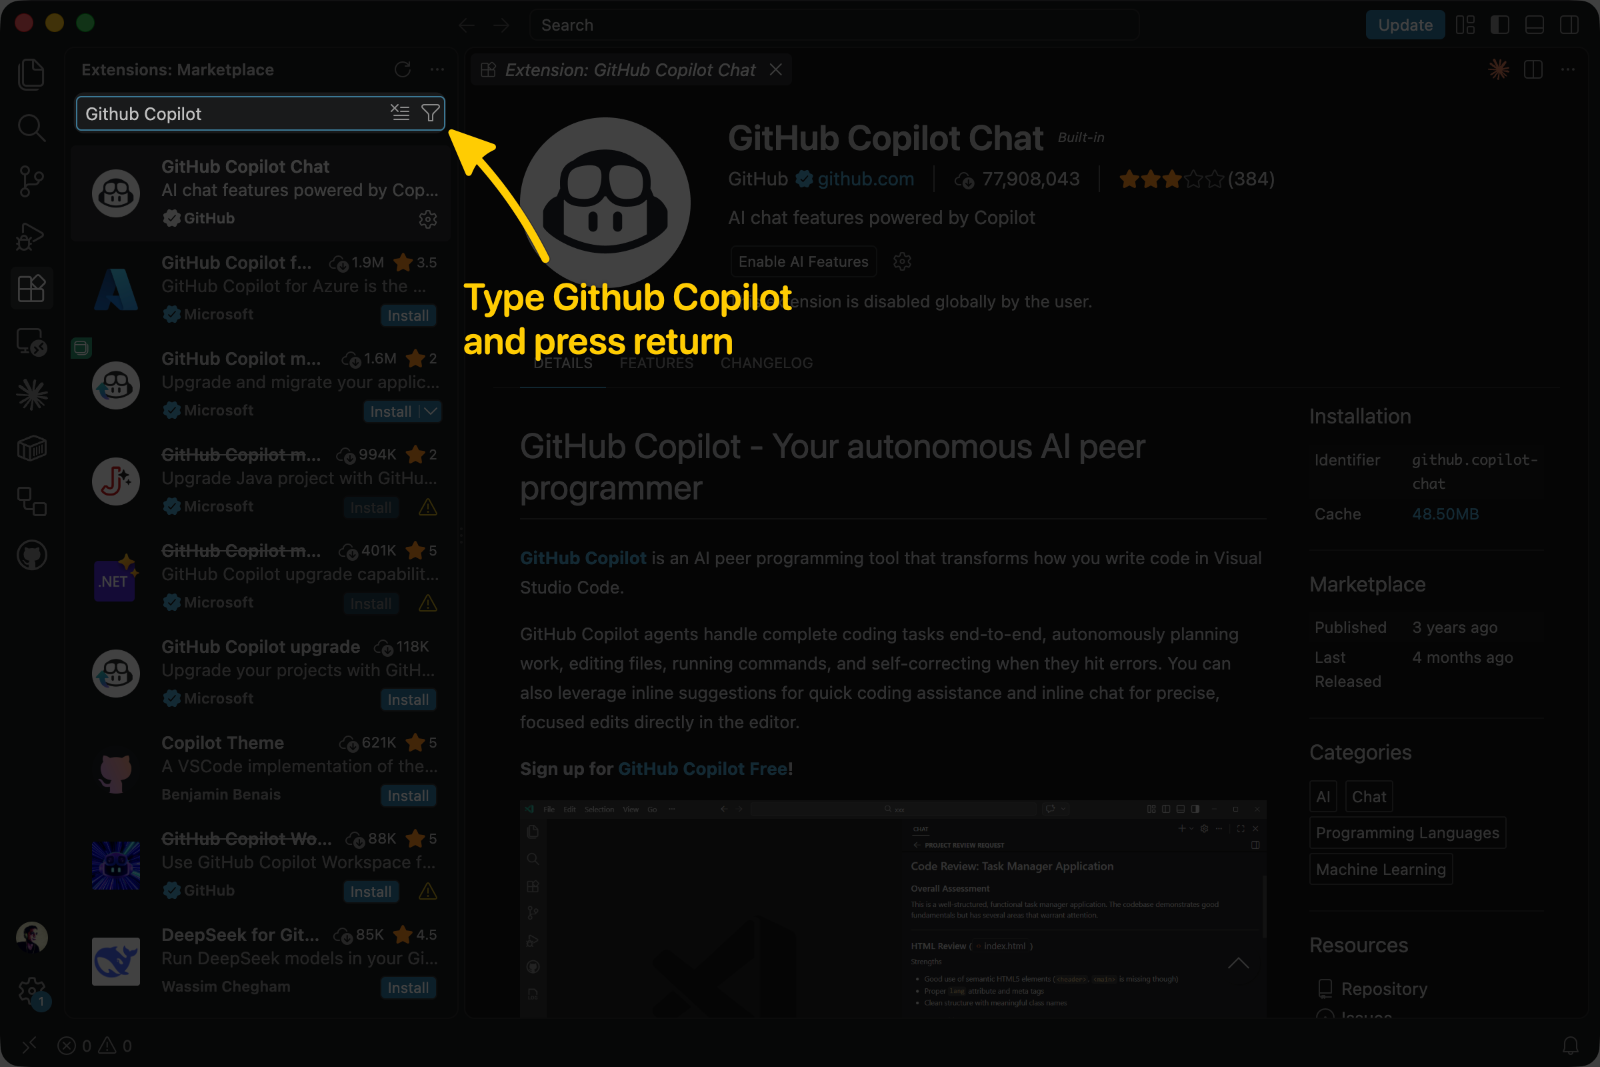
In the Extensions search bar at the top of the panel, type GitHub Copilot. You will see two related extensions appear in the results:
- GitHub Copilot — the core extension that provides inline code completions as you type.
- GitHub Copilot Chat — an optional companion that lets you have a conversational chat with the AI directly inside VSCode.
Make sure the publisher is listed as GitHub (with a blue verified checkmark) before proceeding to avoid installing unofficial imitations.
Step 3 — Install the Extension
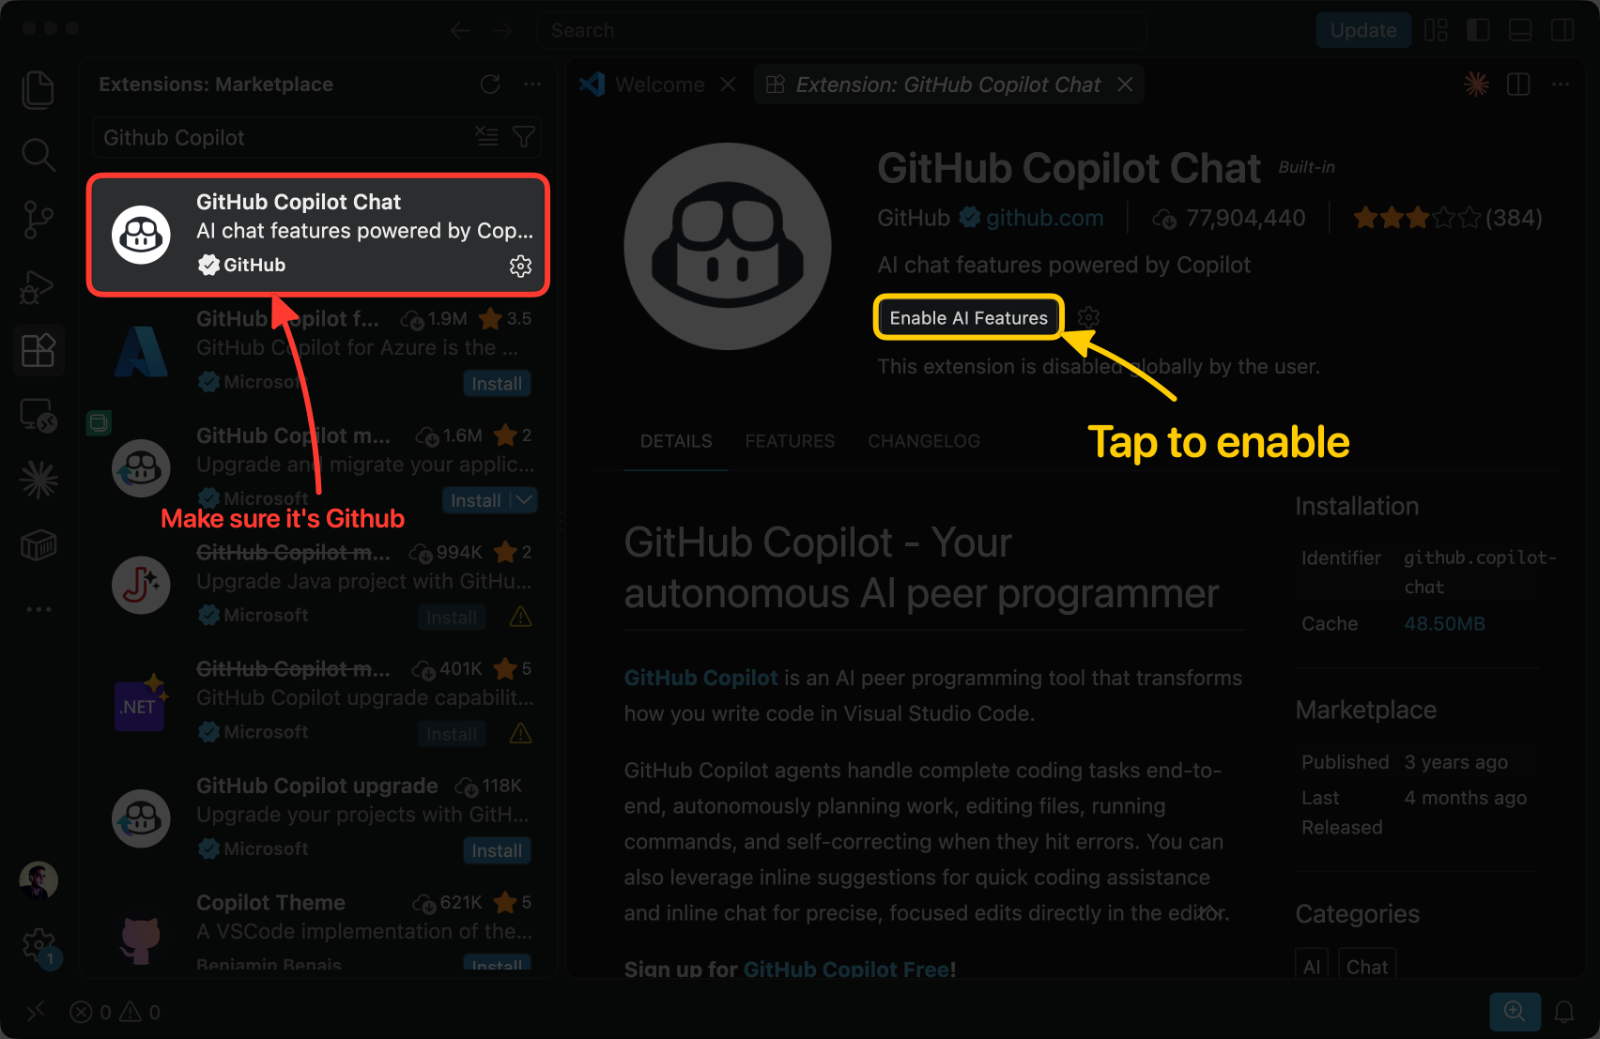
Click on GitHub Copilot in the search results to open its details page. Then click the blue Install button. VSCode will download and install the extension automatically — this usually takes only a few seconds.
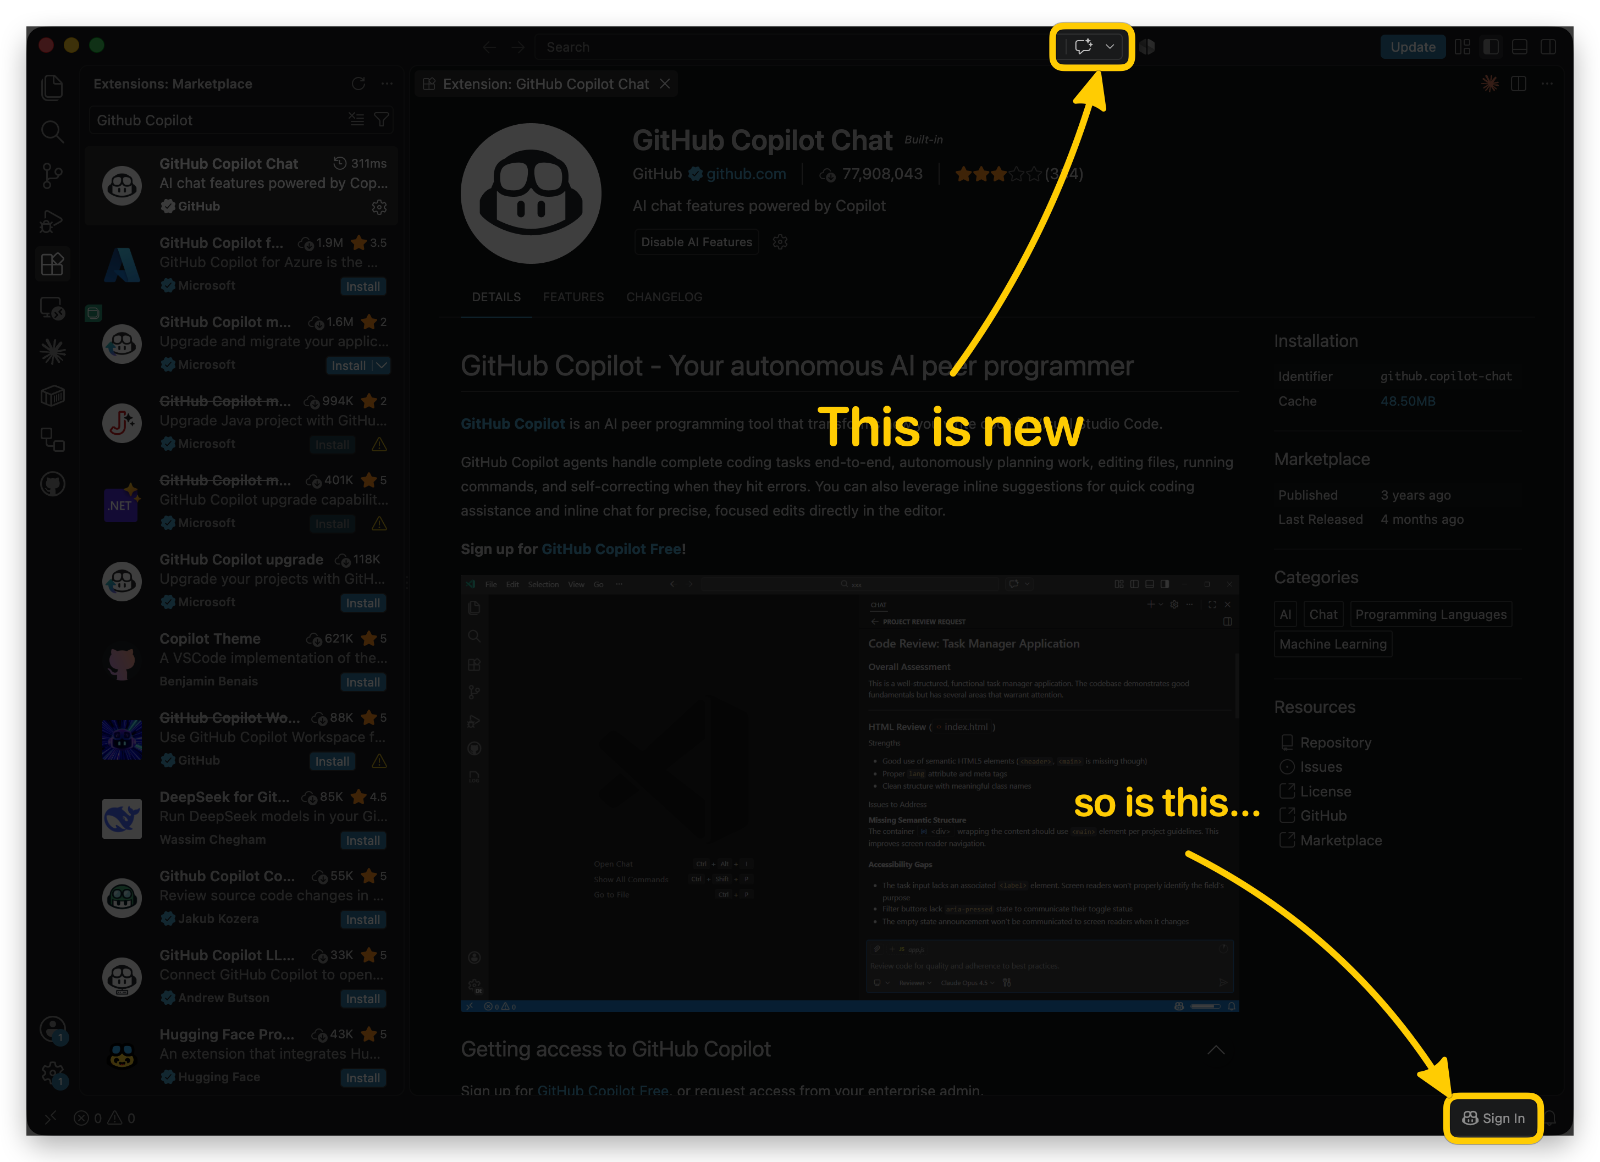
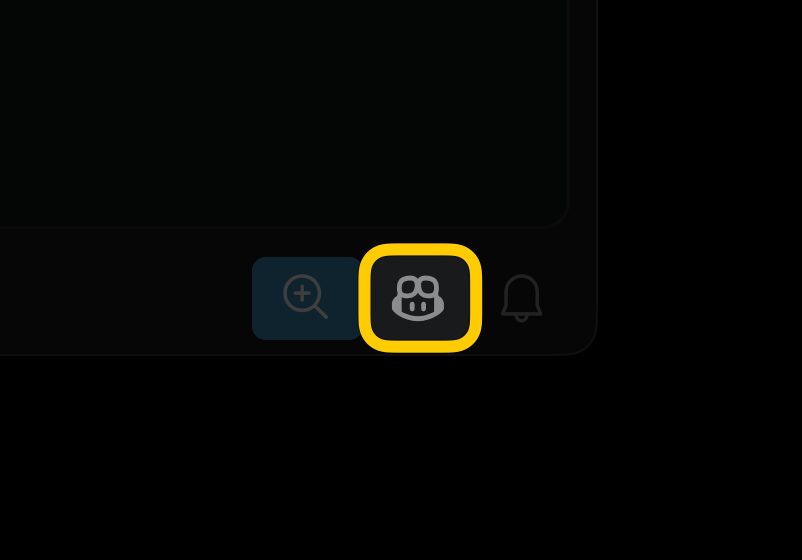
Once the installation completes, you'll notice a few new controls appear in your VSCode interface. A GitHub Copilot icon will be added to the bottom-right status bar, and a new Copilot menu becomes accessible from the top command palette. These controls let you toggle suggestions on or off, open Copilot Chat, and manage your account — all without leaving the editor.
Step 4 — Sign In to Your GitHub Account
Once installed, VSCode will display a notification in the bottom-right corner prompting you to sign in. Click Sign in to GitHub. This will open your default web browser and redirect you to GitHub's authorization page.
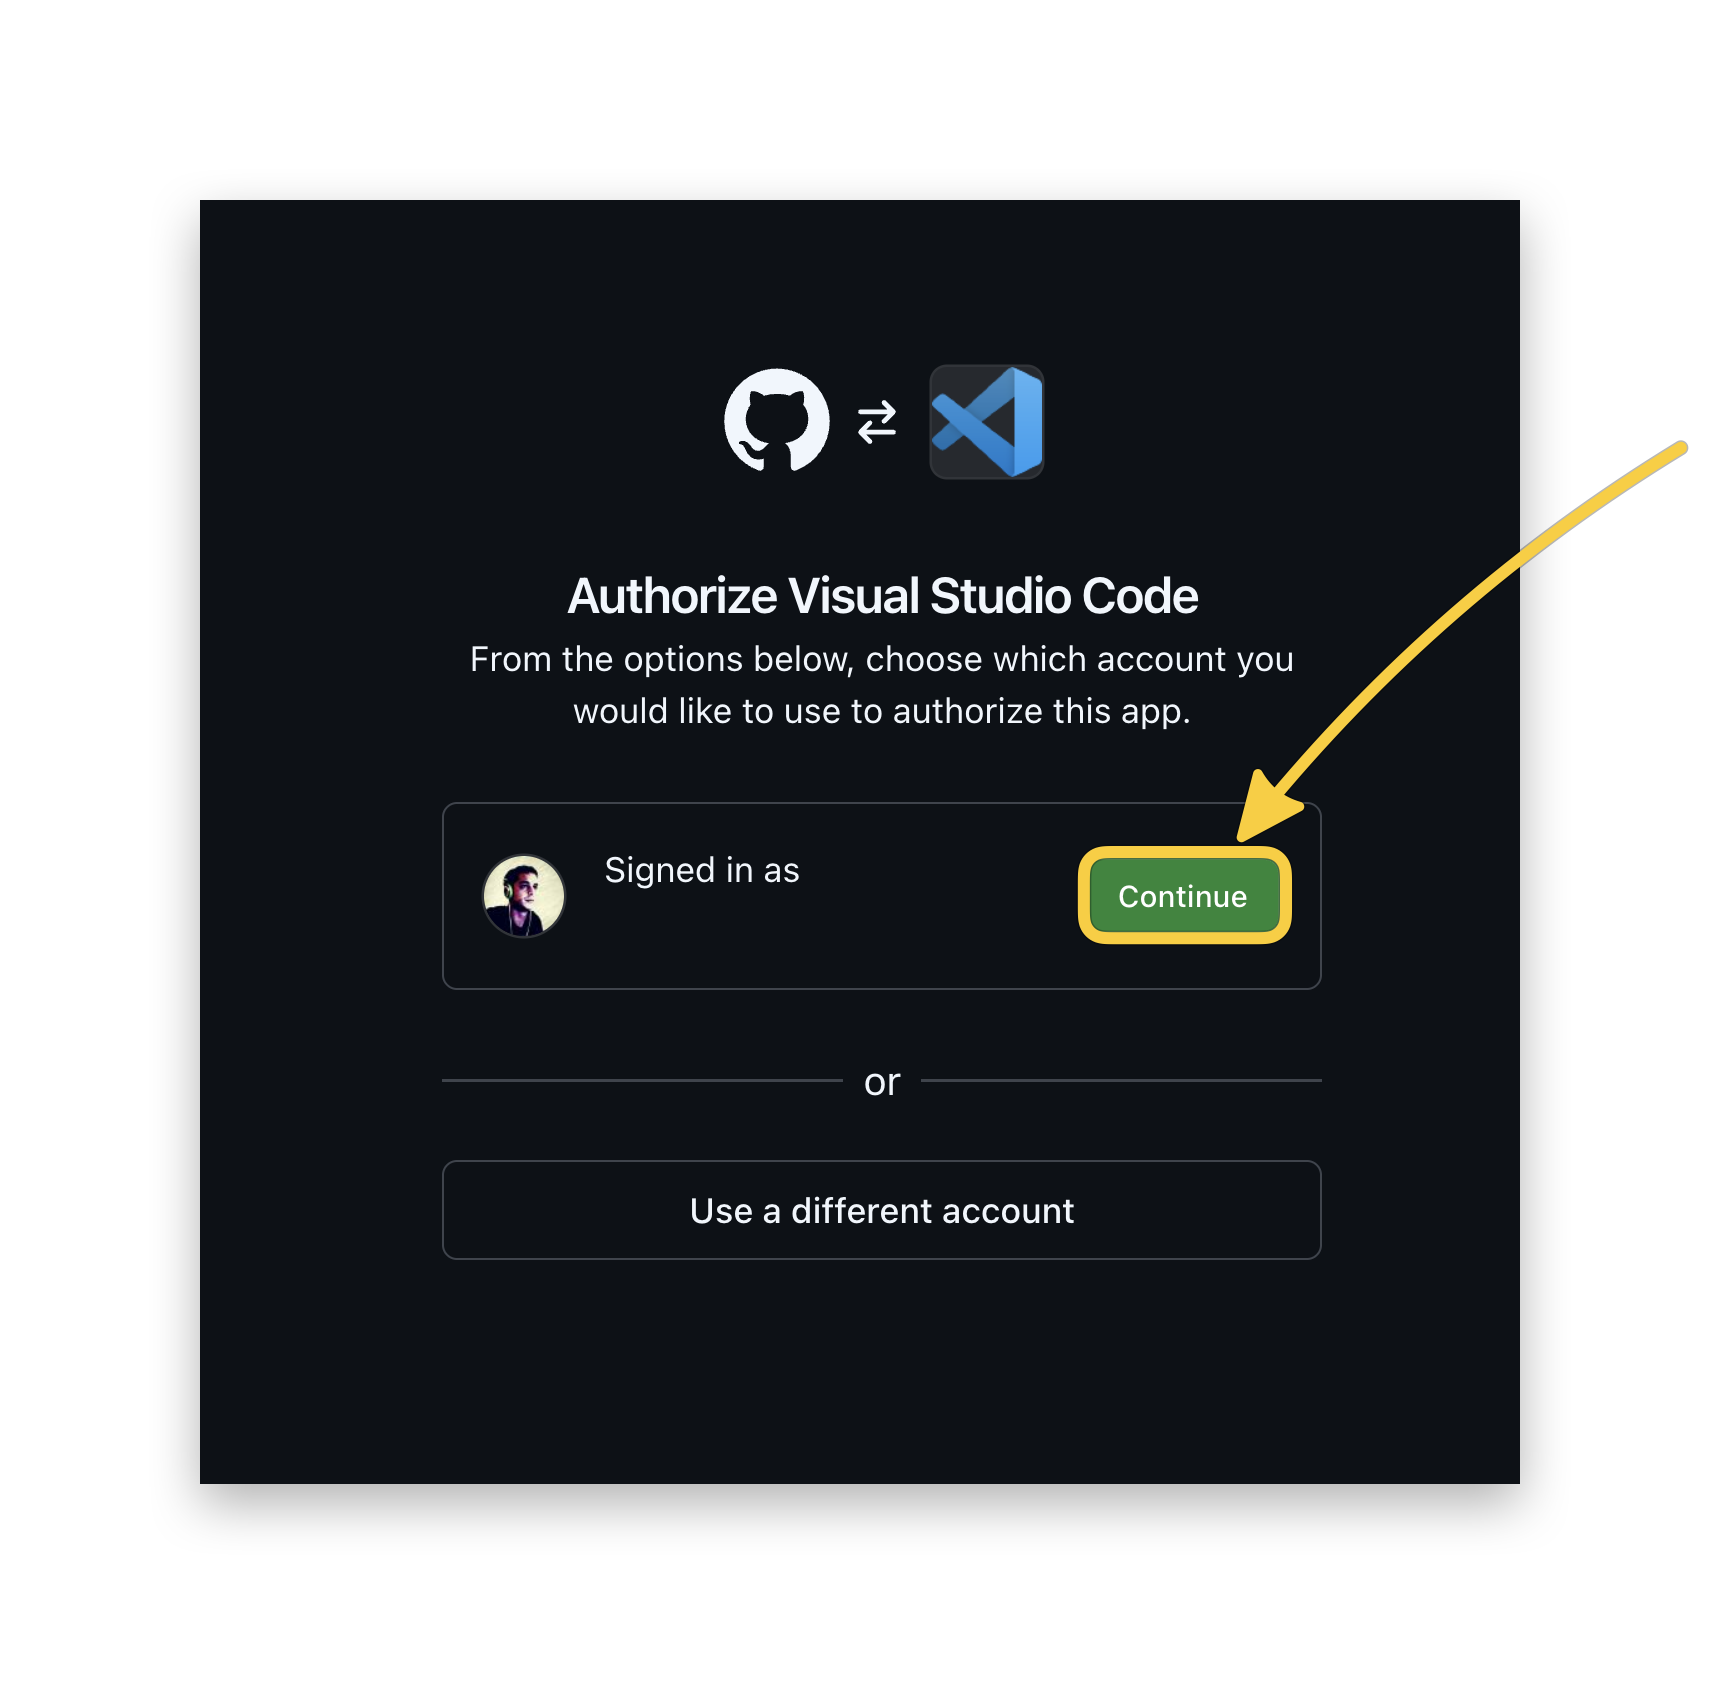
On the GitHub authorization page, click Continue. GitHub will then ask you to confirm by clicking Open Visual Studio Code in the browser dialog to hand control back to your editor.
Step 5 — Verify the Installation
After signing in, look at the bottom-right corner of the VSCode status bar. You should see the GitHub Copilot icon (a small Copilot logo). If it appears without a warning symbol, Copilot is active and ready to use.
Step 6 — Test GitHub Copilot
To confirm everything is working, create a new file called test.js in VSCode. You can do this by going to File → New File, then saving it with the name test.js.
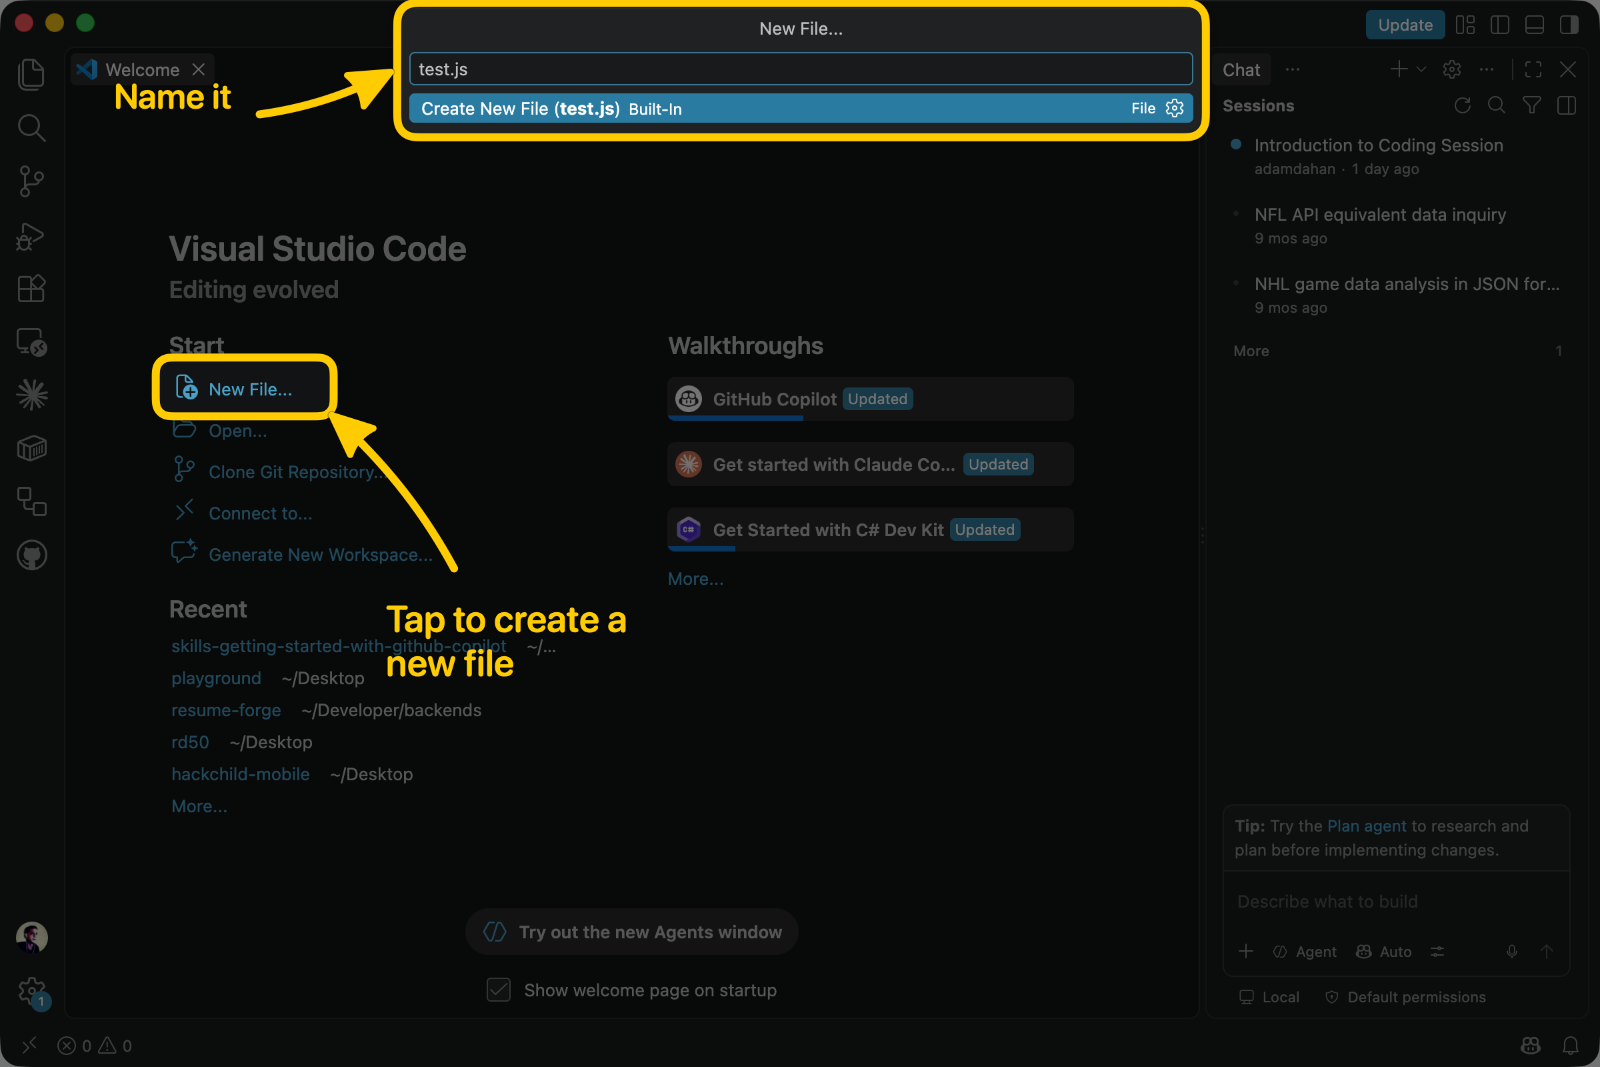
Once the file is open, start typing a comment describing what you want to do — for example
// Write function to add two numbers` — and press Enter. Within a moment, GitHub Copilot will suggest a code completion in faded gray text. Press Tab to accept the suggestion and see Copilot in action.
// Write a function that adds two numbers
function add(a, b) {
    return a + b;
}
Press Tab to accept the suggestion, and watch Copilot complete the function for you — instantly, without a single web search.
You're all set!
Congratulations — you've successfully set up GitHub Copilot in Visual Studio Code! 🎉 You're now ready to code smarter, faster, and with a powerful AI partner by your side. Here's a quick recap of everything you accomplished in this chapter:
- Opened the Extensions panel in VSCode and searched for the official GitHub Copilot extension.
- Installed the GitHub Copilot extension (and optionally GitHub Copilot Chat) published by GitHub.
- Signed in to your GitHub account and authorized VSCode to connect to Copilot.
- Verified the installation by confirming the Copilot icon appeared in the VSCode status bar.
- Tested Copilot live by writing a comment in a JavaScript file and accepting your first AI-generated code suggestion with Tab.